How to Ship Cookies So They Arrive in One Piece
Published by Avco Boxes, a custom pizza and bakery box manufacturer in Long Island, New York since 1989.
To ship cookies so they arrive whole, choose firm, low-moisture cookies, let them cool completely, wrap them in back-to-back pairs or one at a time, and pack them snugly in a sturdy inner container such as a tin or bakery box. Then put that container inside a larger shipping box with cushioning on every side so nothing can shift. Ship early in the week, pick a faster service for long distances, and check your carrier's own rules before you send anything. The steps below work for bakeries and home bakers alike.
Step 1: Pick cookies that travel well
The single biggest factor is the cookie itself. Firm, fairly dry cookies hold their shape and stay fresh in a box. Soft, moist or delicately decorated ones are much more likely to crack, smear or go stale on the way.
| Usually travel well | Usually travel poorly |
|---|---|
| Shortbread and butter cookies | Very soft, cakey cookies that bend or crumble when handled |
| Biscotti and other twice-baked cookies | Cookies topped with buttercream or cream cheese frosting |
| Gingersnaps and other crisp spice cookies | Sandwich cookies with a soft cream filling |
| Sturdy drop cookies, such as chocolate chip or oatmeal | Thin, lacy or very fragile cookies that snap easily |
| Dense bar cookies and brownies, cut and wrapped | Anything that needs to be kept cold |
Decorated cookies with icing that has fully hardened can be shipped, but they need extra padding and should never be stacked face to face. If you are unsure about a recipe, ship a test box to yourself or a friend first.
Step 2: Cool completely before packing
Warm cookies release steam. If you wrap them before they are fully cool, that moisture gets trapped and turns crisp cookies soft and soft cookies soggy. Let every batch cool all the way on a rack before it goes anywhere near wrap or a box. Bake as close to shipping day as you reasonably can.
Step 3: Wrap in pairs or one at a time
Wrapping keeps cookies from rubbing against each other, which is what turns edges into crumbs.
- Stack in pairs, back to back. Put two cookies together with their flat bottoms touching, then wrap the pair in plastic wrap or slip it into a small food-safe bag. The tops, which are usually the prettiest side, stay protected.
- Wrap large or decorated cookies individually. One cookie per bag or wrap keeps icing and toppings from sticking to anything else.
- Keep flavors apart. Strong flavors such as mint, ginger or anise can carry into milder cookies, and crisp cookies soften when packed next to soft ones. Wrap and pack different kinds separately.
- Use food paper between layers. A sheet of wax or deli paper between rows stops wrapped cookies from sliding and keeps any butter marks off the box.
Step 4: Pack snugly into an inner container
The inner container is what keeps cookies from being crushed. It should be rigid and only a little bigger than the cookies you are putting in it. Good options include a cookie tin, a firm food storage container or a bakery box.
- Line the bottom with a sheet of food paper.
- Put the heaviest cookies at the bottom and the lightest or most delicate on top.
- Pack wrapped stacks tightly. Many bakers stand stacks on their edges in rows, which spreads pressure across the cookies.
- Fill any gaps with crumpled food paper so nothing can slide.
- Close the container and give it a gentle shake. If you feel movement, add more paper.
Using a bakery box as the inner box
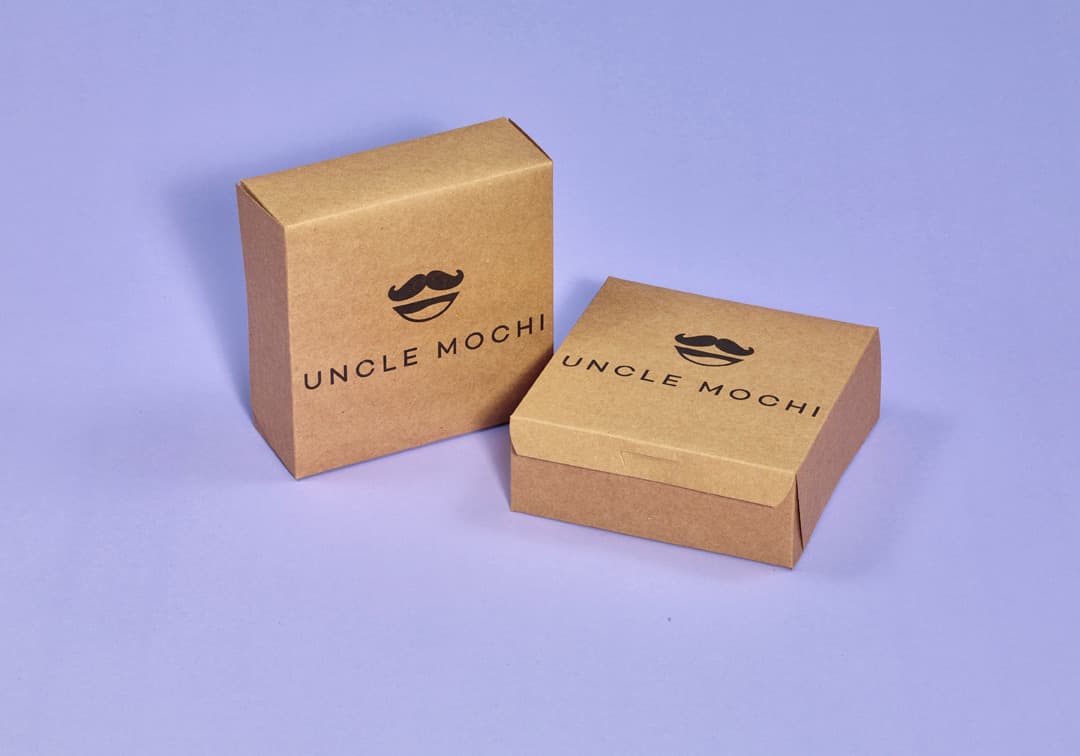
For a bakery, the inner box is also the presentation box: it is the first thing your customer sees when they open the shipment. A printed bakery box turns a plain delivery into something that looks like it came from your shop, and it keeps the cookies organized inside the outer carton.
A bakery box is not a shipping box on its own, though. It is made to be carried home, not tossed onto a conveyor, so always place it inside a sturdy outer shipping box. We make custom bakery boxes and printed cake and pastry boxes in 24 sizes, packed in bundles of 50–100 with a 5-bundle minimum, plus printed food papers for wrapping and layering. We do not sell shipping boxes or cushioning, so you will need to source the outer box and padding elsewhere.
Step 5: Box it again with cushioning on every side
The outer box takes the bumps so the inner box does not have to. Use a sturdy corrugated shipping box that is large enough to leave room for cushioning around the inner container on all sides, including the top and bottom.
- Start with a cushioning layer on the bottom. Bubble wrap, packing paper or air pillows all work.
- Center the inner box. It should not touch any wall of the outer box.
- Fill the sides and top. Pack cushioning in until the inner box cannot move in any direction.
- Do the shake test. Close the flaps and shake gently. If you hear or feel anything shifting, open it and add more padding.
- Tape every seam. Seal the top and bottom center seams and the edges with packing tape.
Step 6: Label it clearly
Write or print the recipient's address and your return address clearly. Marking the box "Fragile" and, where it applies, "Perishable" tells handlers to take care, but a label is a request rather than a guarantee, which is why the packing matters most. Carriers have their own requirements for food, perishable items and labeling, so check with your carrier before you ship.
If you are shipping to customers, a short note inside with the cookie names and an ingredient list is a helpful touch, especially for anyone managing allergies. Check what labeling your area requires for food you sell.
Step 7: Time the shipment
- Ship early in the week. Sending on a Monday or Tuesday makes it less likely the box will sit in a warehouse or truck over the weekend.
- Use a faster service for long distances. The less time cookies spend in transit, the fresher they arrive. Compare your carrier's options for the distance you are sending.
- Think about the weather. Heat can melt chocolate and soften icing. In warm months, choose cookies without chocolate coatings and pick a quicker service.
- Plan around holidays. Carriers get busy before major holidays. Check their cutoff dates and ship earlier than you think you need to.
Tips for bakeries shipping orders
If shipping is part of your business rather than a one-off, a little consistency saves time and breakage:
- Standardize your box sizes. Pick one inner box for a half dozen and one for a dozen, then find an outer shipping box that fits each with room for cushioning. Packing becomes routine.
- Test before you launch. Ship a box to yourself or a friend in another state and see how it arrives. Adjust wrapping and padding based on what you find.
Quick checklist
- Choose firm, low-moisture cookies.
- Cool them completely.
- Wrap in back-to-back pairs or individually, with flavors kept apart.
- Pack snugly in a tin, rigid container or bakery box with no gaps.
- Center that inside a larger shipping box with cushioning on every side.
- Label clearly and check your carrier's requirements.
- Ship early in the week with a service fast enough for the distance.
If you ship cookies regularly, a printed inner box is an easy way to make every order look like it came from your shop. Browse our custom bakery boxes and we will send a free digital proof before anything is printed.